
First things first, we're using the term "sugar shine" very loosely here. This is actually an excellent fuel alcohol recipe for beginners. This is also the process that a commercial distiller would likely use to make cheap, (probably bad tasting) spirits.
This is one of the first recipes we ever made. It was a great recipe to make when we first started out because it is almost fool proof. When we made this recipe, we had a fuel alcohol permit and we were in compliance with state and federal regulations. We produced, stored, and used this alcohol in accordance with TTB requirements. We also kept and reported production logs in accordance with TTB fuel alcohol permit requirements.
Making this mash literally only took us an hour or so from start to finish, it did not require any special equipment, and it was also almost impossible to screw up.
Believe it or not, this is probably exactly how commercial vodka is made as well! Though vodka is distilled several times to a very high proof to remove as much aroma and taste as possible from the original mash. They do that because distilling this recipe just once probably wouldn't produce something that tasted or smelled very good.
Before we get started, a reminder: Distilling alcohol is illegal without a federal fuel alcohol or distilled spirit plant permit as well as relevant state permits. Our distillation equipment is designed for legal uses only and the information in this article is for educational purposes only. Please read our complete legal summary for more information on the legalities of distillation.
We also made a full video of this batch, from mixing the wash to the spirit run:
What Is Sugar Shine?
Sugar shine is alcohol made from four ingredients: sugar, water, yeast, and yeast nutrient. There's no grain to mill and no mash to cook, which is why it's one of the easiest ways to make a high proof, low cost spirit. Plain sugar ferments into a clean, neutral wash, so the final product doesn't have much character of its own. That's exactly what you want if the plan is gin, absinthe, a flavored spirit, or vodka.
It's cheap, too. In the video above, we scaled this recipe way up: 75 pounds of sugar topped off with water made a little over 50 gallons of wash. The ingredients for that whole batch cost roughly $50 and would, in theory, yield about 9 gallons of 100 proof spirit, which works out to around $5.50 per gallon. The small batch recipe below follows the same process at a size that fits standard homebrew equipment.
Ingredients
8 Pounds Sugar
Yeast Nutrient
5.5 Gallons Water
1 Packets Wine Yeast
A note on yeast: wine yeast works fine at this scale, but a distiller's yeast is also a good option. In our large batch we used Angel Red Label, and Distiller's Active Dry Yeast is a solid substitute.
The yeast nutrient matters more here than in most recipes. A grain mash naturally contains the nitrogen, minerals, and vitamins that yeast need to reproduce, but plain white sugar contains none of that. Without added nutrient, the yeast can stall partway through fermentation or throw off harsh sulfur flavors as they struggle. A dose of nutrient stirred in before pitching keeps the fermentation strong from start to finish.
Equipment Needed
6 Gallon Brew Pot
6.5 Gallon Fermenter
Airlock
Mash Paddle or Spoon
Sanitizer
Mash Making Process
We added 5.5 gallons of water to a sanitized brew kettle. Because the mash won't be heated anywhere near pasteurization temperatures, all brewing equipment should be thoroughly cleaned with an oxygen based cleaner (such as PBW or Oxyclean) and then sanitized with an acid based sanitizer (such as star-san) to make sure only yeast and sugar water ends up in the fermenter.

We then added 8 pounds of sugar to the kettle. This resulted in a starting gravity of about 1.058, which produced a wash with a starting alcohol of 7.5%.

Once we added the sugar, we applied high heat to the pot and slowly heated the mash to to 70F. The initial tap water temp was somewhere in the neighborhood of 55 degrees, so this did not take too long.
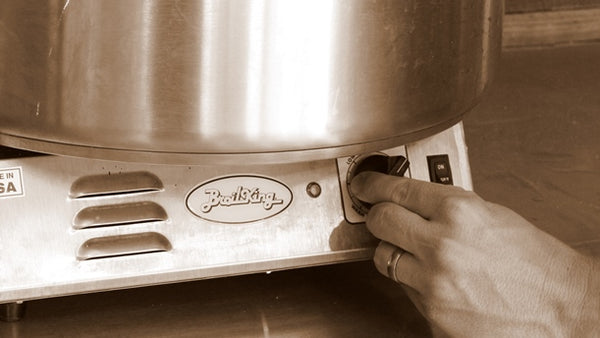
While the kettle was heating, we stirred the mixture of sugar and water with a mash paddle until the sugar had completely dissolved.

After the sugar had completely dissolved and while the temperature of the mixture was still heating up (70F), we rehydrated the yeast by following the instructions on the back of the yeast package.
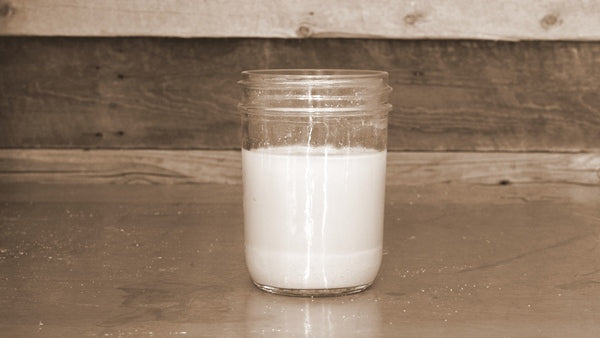
Once the temperature reached (70F), we turned off the heat. We made sure not over-shoot (70F) because we did not want to have to wait for the mash to cool back down. We aerate by dumping the sugar mash back and forth between two sanitized buckets and then dumped it into the sanitzed fermenter.

After we aerated the mash we dumped it into a fermentation bucket and added our yeast nutrient and yeast starter.

We put a sanitized lid and airlock on the fermentation bucket. We did our best to maintain a steady temperature of 70 degrees during the fermentation process. We've found over the year that a basement or a dark closet is a great place to ferment.

One of the forgiving things about a wash destined for the still: you don't need to be quite as obsessive about sealed fermenters as a beer brewer does, because distillation will strip out most minor fermentation off flavors. Cover the fermenter with something that keeps bugs out and hold it near 70F for 7 to 10 days.
We fermented the sugar mash for a week. We took a gravity with a brewing hydrometer and determined that fermentation was finished. When the specific gravity reads at or near 1.000 and holds steady for a couple of days, the yeast have converted about as much of the sugar into alcohol as they can. We then siphoned the sugar wash into our still. We made sure to leave the sediment and yeast behind in the fermenter. We were careful to not overfill the still and never filled the vapor cone with liquid.
Should You Distill On or Off the Yeast?
Ideally, let the finished wash settle and clarify for a few days, then siphon it into the still rather than pouring it in cloudy. All that milky haze is spent yeast, and what happens to it in the boiler depends on the strain. With some yeasts, the cells rupture during the boil and produce a distinct autolysis flavor that carries into the distillate, and it is not a pleasant one. Other strains are gentler, and some distillers actually prefer a bit of yeast in the wash for the subtle fruity character it can add. If you're not sure how your yeast behaves, settling and siphoning is the safe play.
A Note on Heat Sources
Old timey copper pot stills were traditionally run over wood fires or propane burners. We advise against distilling over any open flame, since alcohol vapor is flammable. Our preferred heat source is an electric heating element mounted directly in the still and wired to a controller, which lets you dial in and hold an exact temperature with no flame anywhere near the process.
Sealing a Copper Still the Old Fashioned Way
Traditional copper pot stills have a top section that simply pressure fits onto the boiler, and that joint needs to be sealed before vapor starts flowing. The old timers used rye flour paste, and it still works great. Mix roughly 3/4 cup of rye flour with 1/3 cup of warm water until it forms a thick, tacky paste. You want it goopy, not a dry dough. Rye is the right flour for the job because it's unusually sticky.
Wait until the still is warm before applying it. Dust the paste with dry flour so you can roll it into a rope, press it around the joint, then smooth it down with wet fingers. As the still heats, the paste bakes on and forms a tight seal. Save any leftover paste in case you spot a vapor leak mid run and need to dab more on.
We then distilled the sugar wash, checked the proof, and distilled it again until the desired proof had been reached. For fuel alcohol, it's best to use a bubble plate still with a reflux head.

Stripping Runs and Spirit Runs
Distilling twice is standard practice for a wash like this, and each run has a different job. The first pass is called a stripping run. Think of it as a sledgehammer: the goal is simply to take a big volume of low alcohol wash and concentrate it into a smaller volume of higher alcohol liquid, called low wines, without making any careful decisions along the way. Collect nearly everything and keep going until the output drops to around 40 proof (20% ABV), or even lower. Going lower just saves more alcohol. The one thing to always discard is the very first liquid off the still, known as the foreshots. Dispose of it away from any heat source.
The second pass is the spirit run, and it's the scalpel. All the stripped low wines go back into the still together, and because the boiler now holds a higher proof charge, the distillate coming off is higher proof too. This is the run where you slow down and make cuts. One important safety rule: never charge a still with liquid above 40% ABV (80 proof). If anything goes wrong, you don't want a boiler full of hot, highly flammable liquid.
Making Cuts
During the spirit run, the distillate changes character over time, and the distiller's job is to separate it into heads, hearts, and tails. The heads come off first and don't taste great, so they get set aside. The hearts are the clean, good tasting middle portion, and that's what you keep. A parrot holding a proofing hydrometer (an alcometer) at the output lets you watch the ABV fall in real time through the run. Make sure it's an actual proofing hydrometer; a brewing hydrometer will just sink to the bottom in high proof spirit.
Also watch your takeoff speed. If distillate is coming out too fast, turn the heat down. A slower run takes advantage of passive reflux inside the still, where some vapor condenses on the copper and falls back into the boiler, which gives a noticeably cleaner product. For more precision, collect the run in a series of small jars set out sequentially, then taste through them later to decide exactly where the hearts begin and end.
We obtained a federal fuel alcohol permit and all relevant state permits when we performed this experiment. It is illegal to distill alcohol without federal and state distillers or fuel alcohol permits.
As we mentioned, this is more or less exactly how commercial vodka is made. The final product from this recipe wouldn't have much flavor, and the flavor it does have isn't likely to be good. That's why this recipe is most suitable for making a flavorless vodka, which would definitely get filtered. We used the final product as fuel for a lawnmower.
That said, a double distilled sugar spirit that's been carefully cut comes out surprisingly clean. A commercial distillery working with a wash like this could redistill it with botanicals for gin, use it as an absinthe base, or filter it into a neutral spirit.
Again, remember, distilling alcohol without a permit is illegal. Don't do it!


Leave a comment