Brewing 101 > Extract Brewing > Partial Mash > All Grain Brewing

We've discussed beginner beer making methods such as extract brewing and partial mash brewing in other articles. In this article we move on to the more advanced method of all grain brewing.
Brewing all grain beer can be daunting at first, but it's actually quite simple when the right equipment and process is used. To explain this method of brewing we present Martin Keen of the Homebrew Challenge Youtube Channel. He has has brewed all 99 BJCP beer styles and is an expert at making beer at home. Martin's going to give us the benefit of his knowledge and experience and explain all of the necessary information and steps needed for making all grain beer.
What is All Grain Brewing
All-grain brewing is a method of producing beer where brewers start with raw malted grain and convert grain starch into sugar during a process called mashing. Mashing activates amylase enzymes that break down starch (a complex carbohydrate) into sugar (a simple carbohydrate). After creating sugar during the mash, it is boiled, at which point hops are added. Finally, the liquid is cooled and yeast is added to kick off fermentation. During fermentation yeast convert sugar into carbon dioxide and alcohol. Once finished, the beer is packaged in cans, bottles, or a keg. The entire process takes anywhere from a couple weeks to a few months to complete.
All Grain Brewing vs. Extract and Partial Mash
During the process of all-grain brewing, starch in malted barley is converted into fermentable sugar during a process called mashing. This is different from extract and partial mash brewing in that when making all-grain beer, additional sugar is typically not added. In the extract and partial mash processes, much of the sugar needed for fermentation comes from premade malt extract.
All Grain Brewing Equipment

One of the drawbacks to brewing all-grain beer is that it requires a bit more equipment than most folks have in their kitchen. For one, all-grain brewing requires a large kettle with roughly 10 or more gallons of capacity. Also, the brewer will need a way to separate the grain from the water after mashing is complete. A nylon paint strainer bag, or even better, a stainless steel mesh basket will work great for this. Finally, temperature control is paramount for successful all-grain brewing. A digital controller and a chiller are required as well.
To solve the difficult task of rounding up all of this equipment piecemeal, we've create an entire lineup of turn-key brewing equipment which includes all of the critical items one will need.
All Grain Brew Day
Here's a detailed video overview of the entire all-grain brewing process. For a more detailed explanation, keep reading.
Water is added to the kettle. The digital brewing controller is set to the desired mash temperature. Once the water is heated up to the desired mash temperature the stainless-steel mesh basket is placed into the brewing kettle, the grains are then added to the basket.
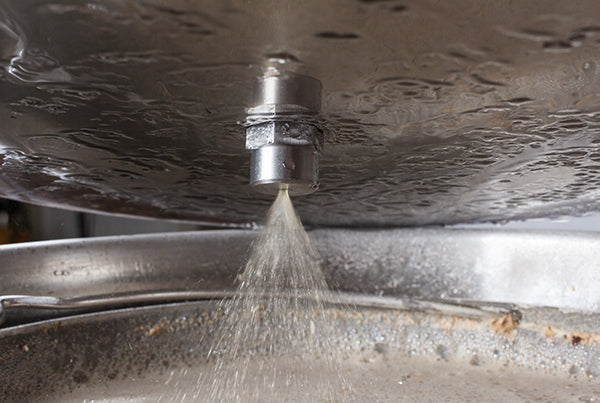
The pump is turned on which recirculates the wort though the grain bed for the entire 60-minute mash. The continuous re-circulation of the wort though the grain bed helps with efficiency but also keeps the temperature of the mash consistent throughout the 60-minute mash. When the mash is complete, the grain basket is simply lifted out of the kettle and set on hooks to drain the excess wort back into the kettle.
Once the basket is done draining, the basket is removed, and the spent grain can be thrown out or composted. The controller is then set to 100% of power to heat the kettle up to a boil. Once the kettle is at a boil follow the recipe for the hop additions. The hop additions will vary depending on the recipe.
Once the 60 minutes boil is finished the wort is chilled down with a flat plate chiller. The wort needs to be chilled down to yeast pitching temperature and the temperature will vary depending on the strain of the yeast being used for the brew day. The yeast packet will have the ideal temperature for fermentation; typically, ale yeast like to ferment in the mid to high 60’s. Once the wort is chilled down to yeast pitching temp, the wort is transferred to a fermenter and the yeast is added.
Clawhammer Supply Brew in a Bag Step-By-Step
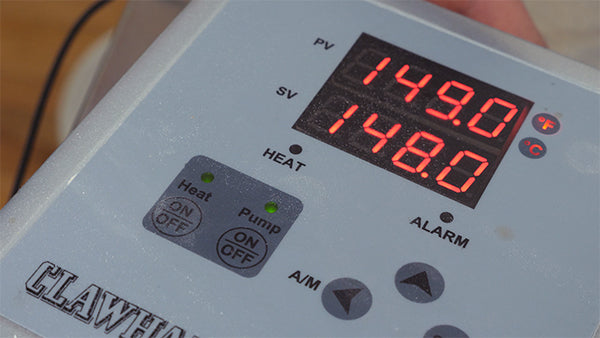
Step 1: Add Water to Kettle– Add the full amount of water needed for the brew day. Turn on the controller and set the mash temperature. The controller will heat the water to the set mash temperature and will maintain that temperature once it is reached.
Step 2: Mash –Once the water is up to temperature insert the grain basket into the kettle and add the milled grains. After adding the grains make sure they are fully submerged and there are no dough balls in the mash. If there are any dough balls, smash them with our "fancy Dan" stainless steel mash paddle, beautifully modeled by Martin in the video above.

Once the grains are added, and the dough balls removed put the lid on your brew kettle, attach the pump, and recirculate for the mash duration which is typically 60 minutes.
Step 3: Collect Wort – One the mash is complete simply pull the basket out of the brew kettle and rest the grain basket on the hooks. Be careful, the grains and basket will be very hot- we highly recommend using insulated brewing gloves and a pulley to remove the basket. Let the grain basket drain for 5-10 minutes and then remove then remove the basket and hooks from the kettle.

Step 4: Bring Wort To A Boil – Once the grain basket is removed set the controller to 100% of power to bring the wort up to a boil. Depending on the size of element (either 120v or 240v) will determine how long it will take to come up to a boil. If brewing on a 120v system insert the hop basket into the kettle then place the lid on the kettle. The hop filter creates a perfect gap for the steam to escape while bringing the wort up to a boil. If brewing on 240v system, the lid is not needed as there is plenty of power in the 5500 watt element to quickly bring the wort up to a boil without the lid.
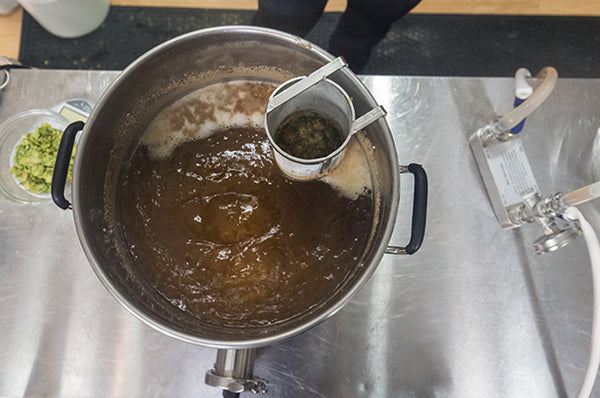
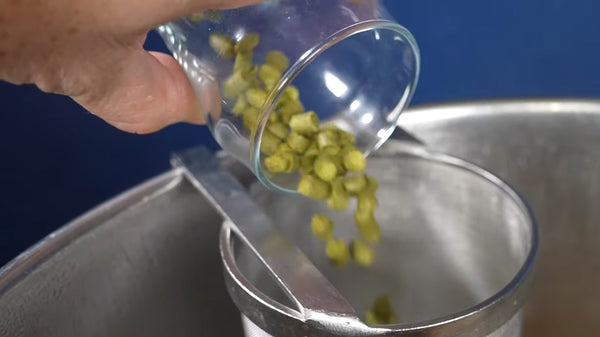
Step 5: Add Hops: Add hops to the beer according to the recipe. Bittering hops are typically added early in the boil. Aroma hops are added near the end and sometimes after the boil is complete and heat has been turned off.
Step 6: Chill Wort – One the boil is finished, (typically 60 minutes) turn off the heat to the kettle, hook up the plate chiller, turn on the cooling water, and chill the wort to yeast pitching temperature. The variety of yeast selected will determine the pitching temp, but most ale yeast ferment best between 60-70°F (15-20°C).

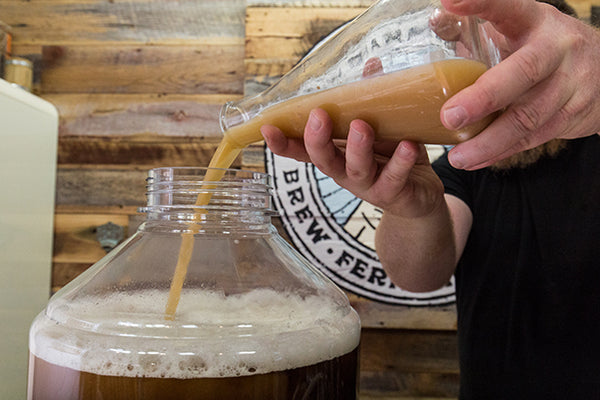
Step 7: Transfer Wort – One the wort is chilled to the temperature the yeast manufacturer recommends transfer the wort from the kettle to the fermenter.

Step 8: Ferment Wort – One the chilled wort has been transferred into the sanitized fermenter add the yeast to the fermenter and make sure the airlock is good and tight.
Step 9: Keg / Bottle – When fermentation is finished transfer the beer to either bottles or kegs.
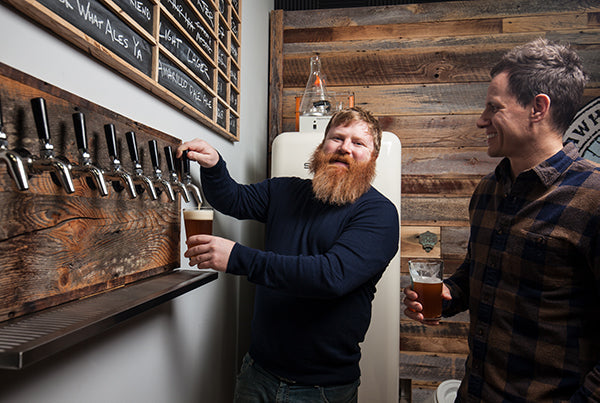
Step 10: Drink & Enjoy – Invite over some friends and enjoy the fruits of your labor with a delicious homebrew.
Beer Making Guide
Brewing 101 - Extract Brewing - Partial Mash Brewing - All Grain Brewing


Leave a comment